My friend, Lois, asked me if I could figure out a healthier version of chicken pot pie. I have to say it’s a bit of a challenge to replace all of the goodness in that ooey, gooey comfort food full of chicken and veggies floating in a rich, creamy sauce of butter and heavy cream underneath a crispy pastry shell. But it is possible.
After a couple of trials, it’s clear the answer lies in compromise. This recipe cuts a ton of fat from the filling and adds a bunch of protein to the mix. Although you can top it with an olive oil pie crust top or simply sprinkle it with fresh breadcrumbs made from high-fiber, whole grain or gluten free bread, I recommend a little splurge by keeping the puff pastry top – it is a comfort food, after all. Also, if you bake it in a deeper dish as opposed to a wider one, you can cut the pastry you need in half – which cuts the fat and calories in half, too. Here goes…
RECIPE: High Protein Chicken Pot Pies with Parsnips in Greek Yogurt Goat Milk Cream Sauce
- 1 roasted chicken, skin removed and rough chopped (rotisserie chicken will work if you don’t want to roast your own)
- 1 small onion, chopped
- 2 stalk celery, chopped
- 2 carrots, chopped
- 2 parsnips, chopped
- 1 tsp dried thyme
- 1/2 tsp poultry seasoning
- 2 cups chicken broth
- 2 cups goat milk (or almond or cow’s milk if you don’t like the taste of goat milk)
- 1/2 block greek cream cheese, cut in pieces
- 2 cups nonfat greek yogurt
- 6 TBSP oat flour (or gluten free)
- olive oil
- 1 cup peas, frozen is fine
- 3 TBSP freshly chopped flat leaf parsley
- 1 1/2 tsp salt (or to taste)
- cracked black pepper
- 1/4 cup brandy
- 1 sheet puff pastry (or gluten free pie crust/bread crumbs)
- 1 egg, beaten
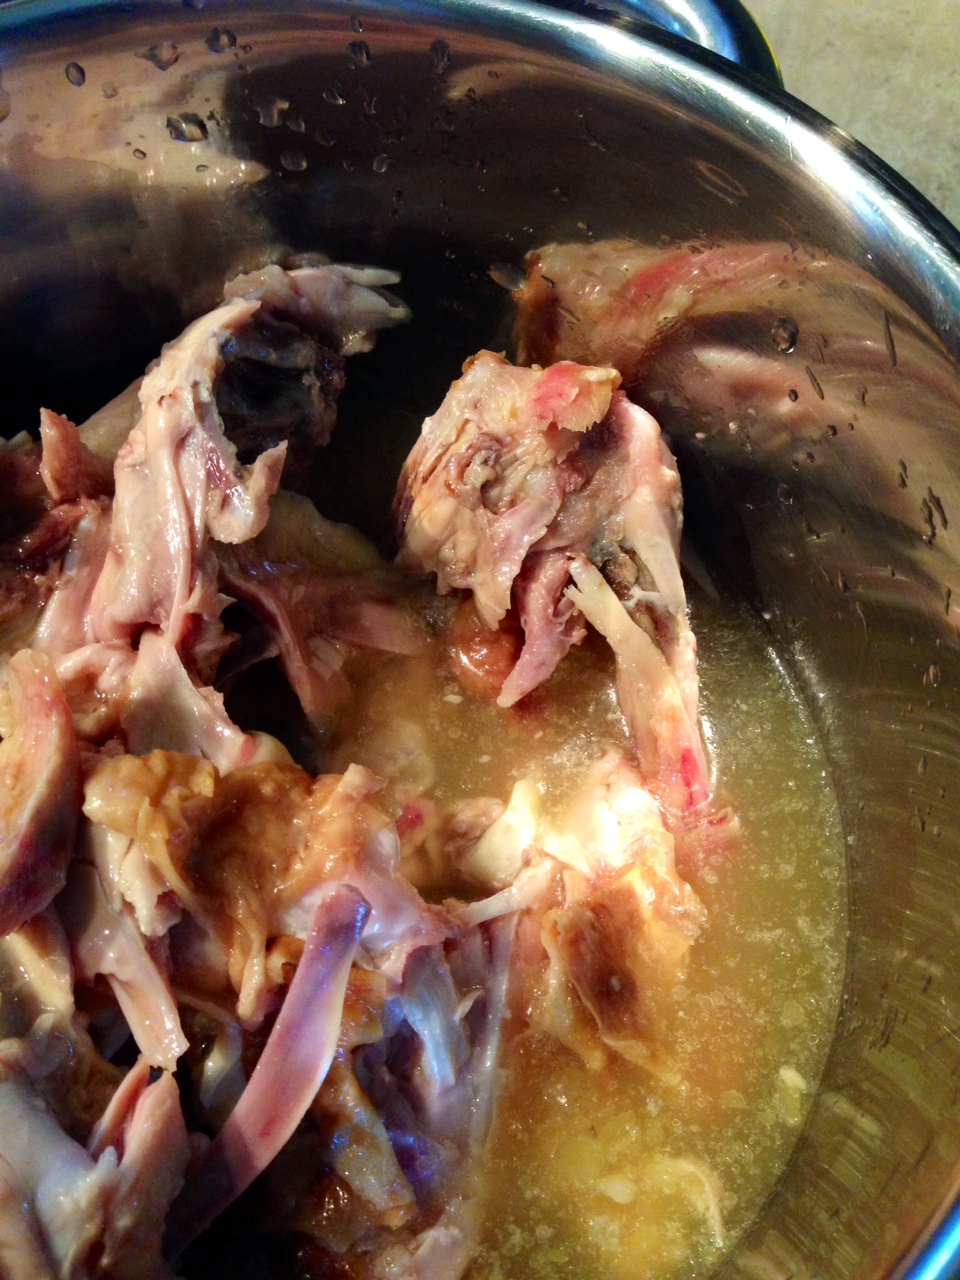
 DIRECTIONS: First, remove the skin and bones from the roasted chicken, give the meat a rough chop and set aside. (Use just the breasts from two chickens if you want to make it extra healthy). Put the chicken carcass in a small sauce pot and add just over two cups of chicken stock. Simmer for 30 minutes to infuse some extra chicken flavor into the broth. Trust me – it makes a difference. Strain and set aside. Remove puff pastry from freezer and thaw until you can unfold it. Sprinkle a board with oat flour and roll pastry just a bit to remove the seams and thin out a little bit.
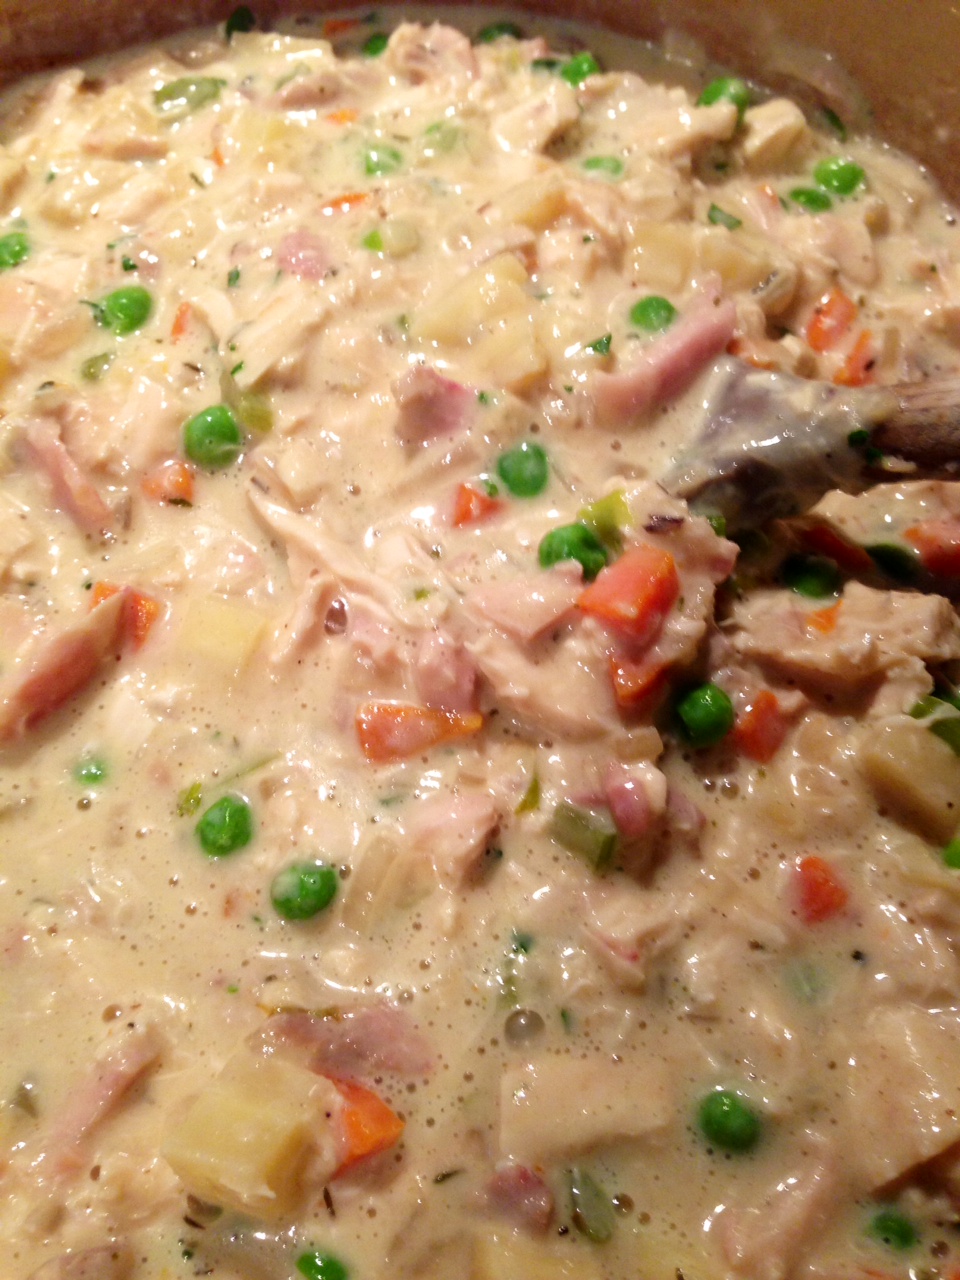
 Next, add a couple tablespoons of olive oil to the bottom of a dutch oven or a large, deep saute pan. Saute onion, celery, carrots, parsnips, thyme and seasoning over medium/medium-high heat until the veggies become translucent and barely start to brown (about 5 minutes). Deglaze the pan with the brandy and stir for another minute. Sprinkle the oat flour on the veggies and stir for a minute or two. Slowly add the warm chicken stock to the veggies, whisking as it thickens to avoid lumps. Then add the goat milk, 1/2 block of cream cheese, peas, salt and pepper. Simmer on low for 5-10 minutes. Turn off heat. Whisk in greek yogurt; add chicken and parsley. Taste and re-season with salt and pepper if necessary.
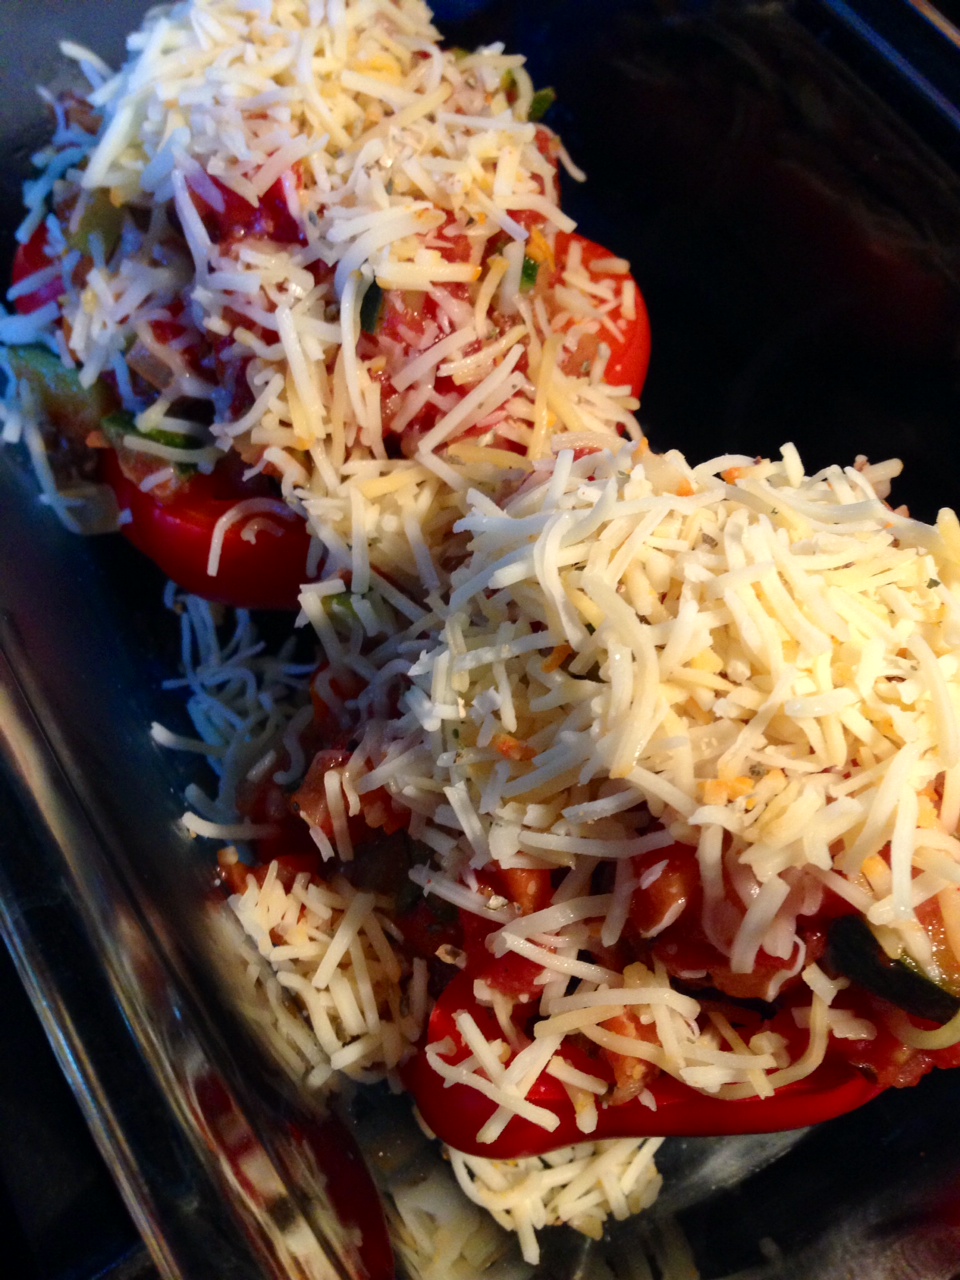
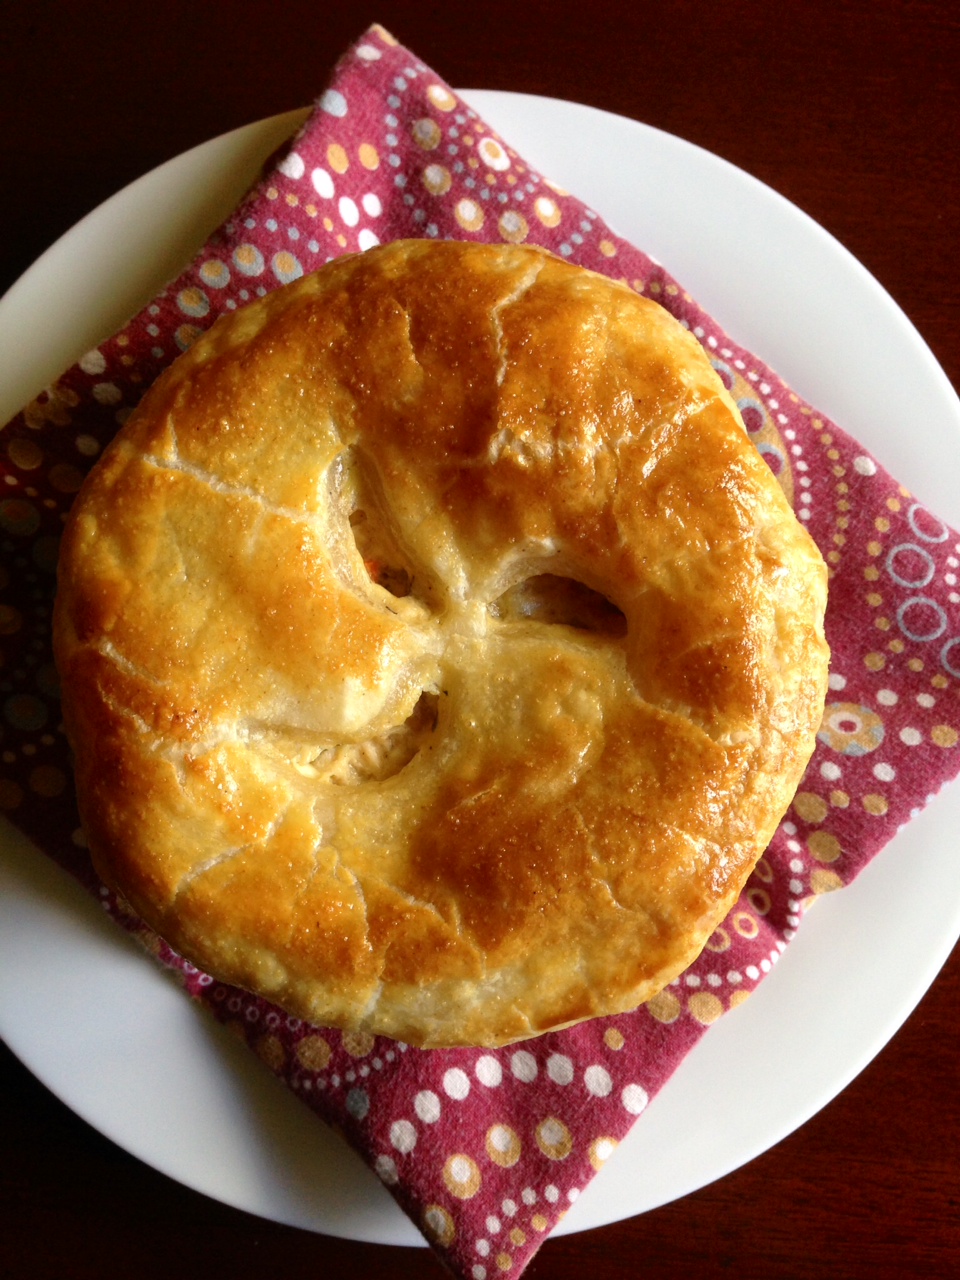
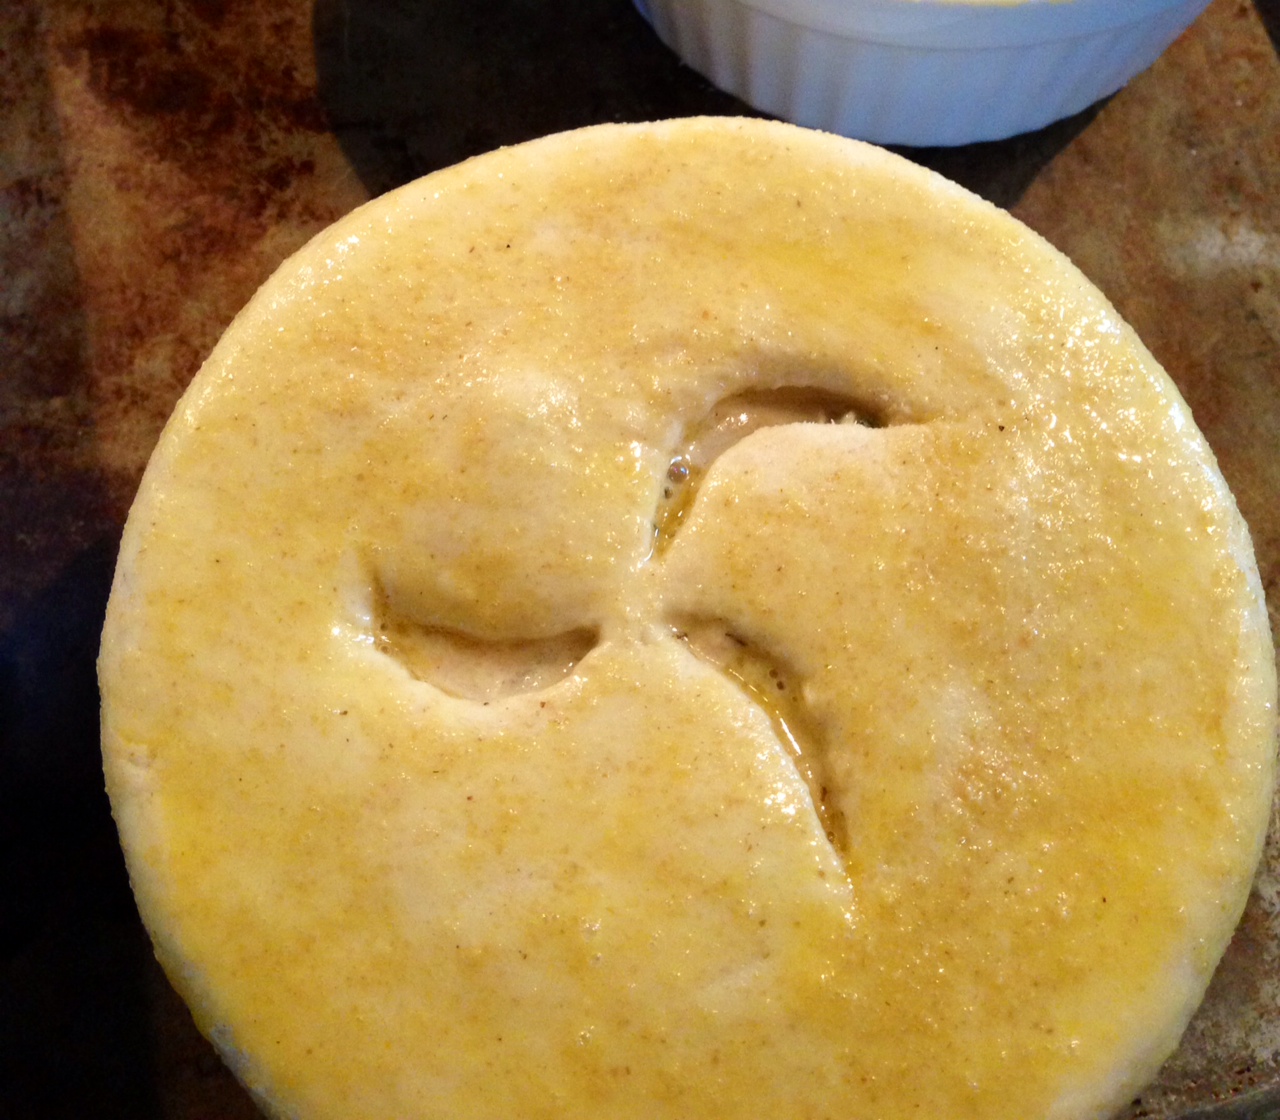
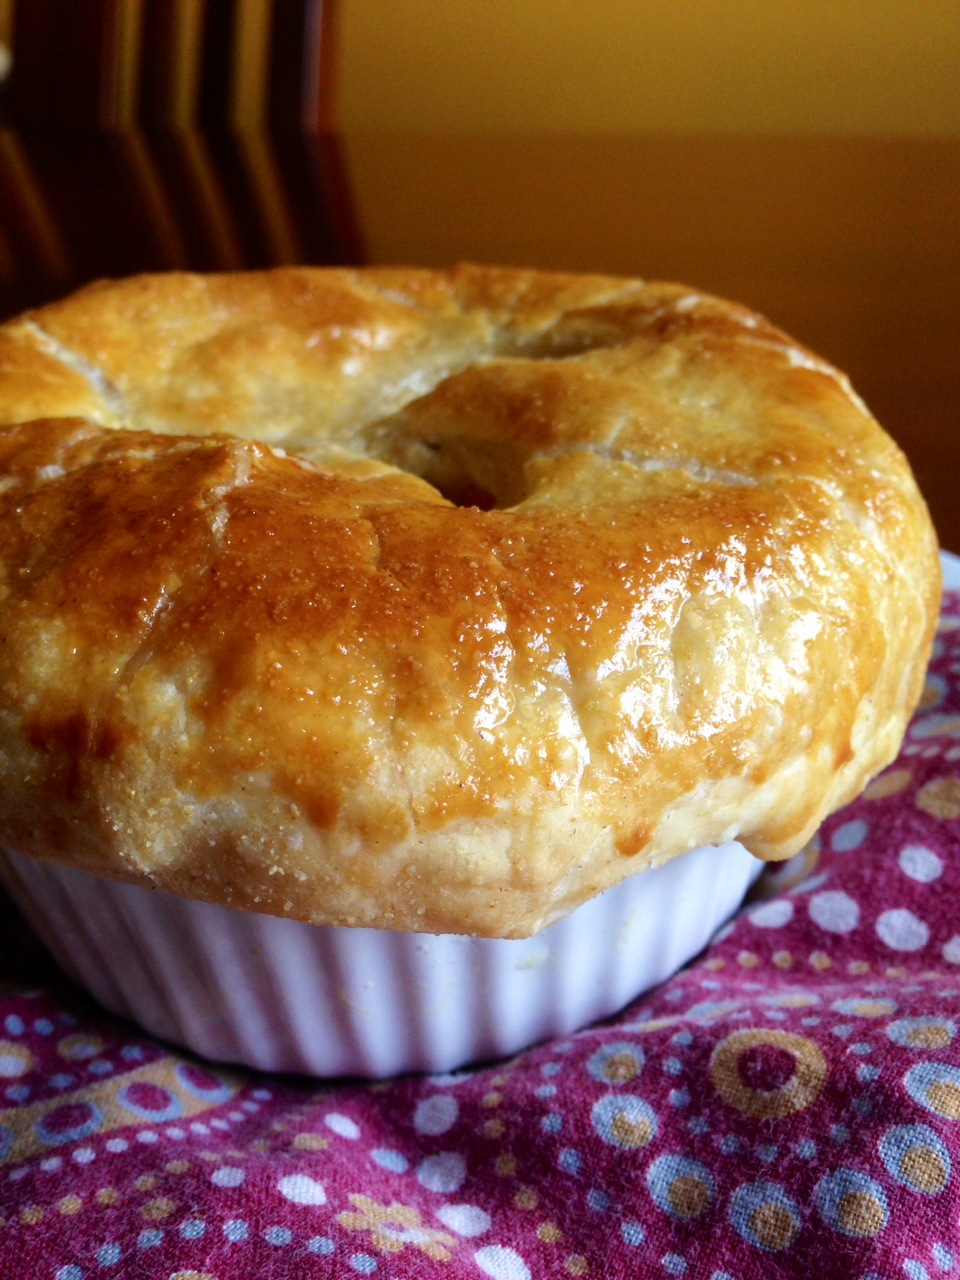
 Divide mixture among 4 large or 6 smaller oven-safe bowls, mugs or ramekins (something that is deeper, rather than a long cassarole-shaped dish that would require more pastry to cover). Whatever dish you use, flip it upside down on the pastry and cut out a shape slightly larger than your dish. Cover the filled dishes with the slightly oversized pastry and push it against the edges. Brush the pastry with the egg wash and using a knife, cut a couple of slits in the top to let the steam escape. Bake the pot pies in a 425 degree oven for 30 minutes or until the pastry puffs up and turns a nice golden brown.
Enjoy!

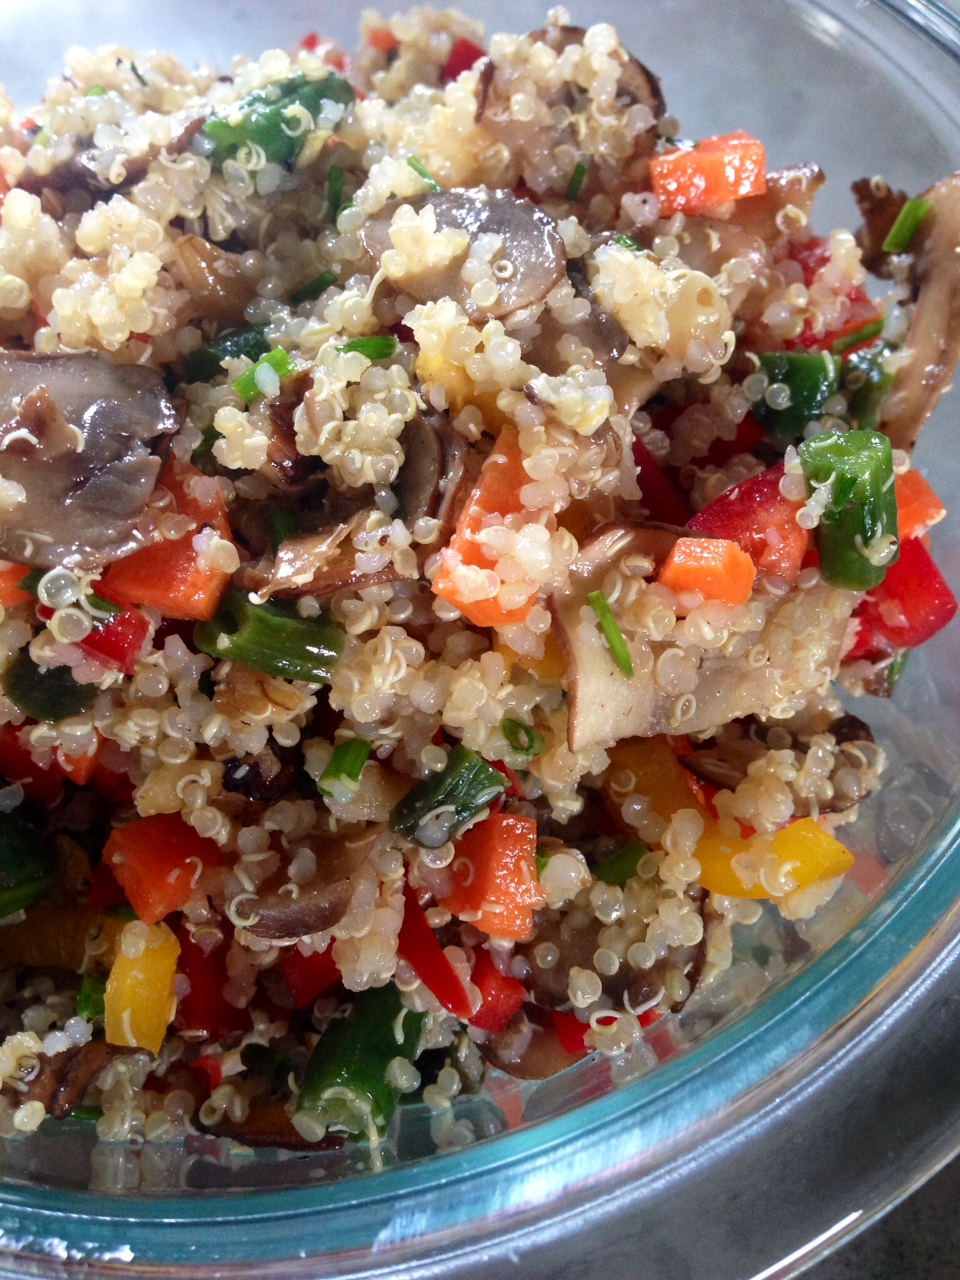
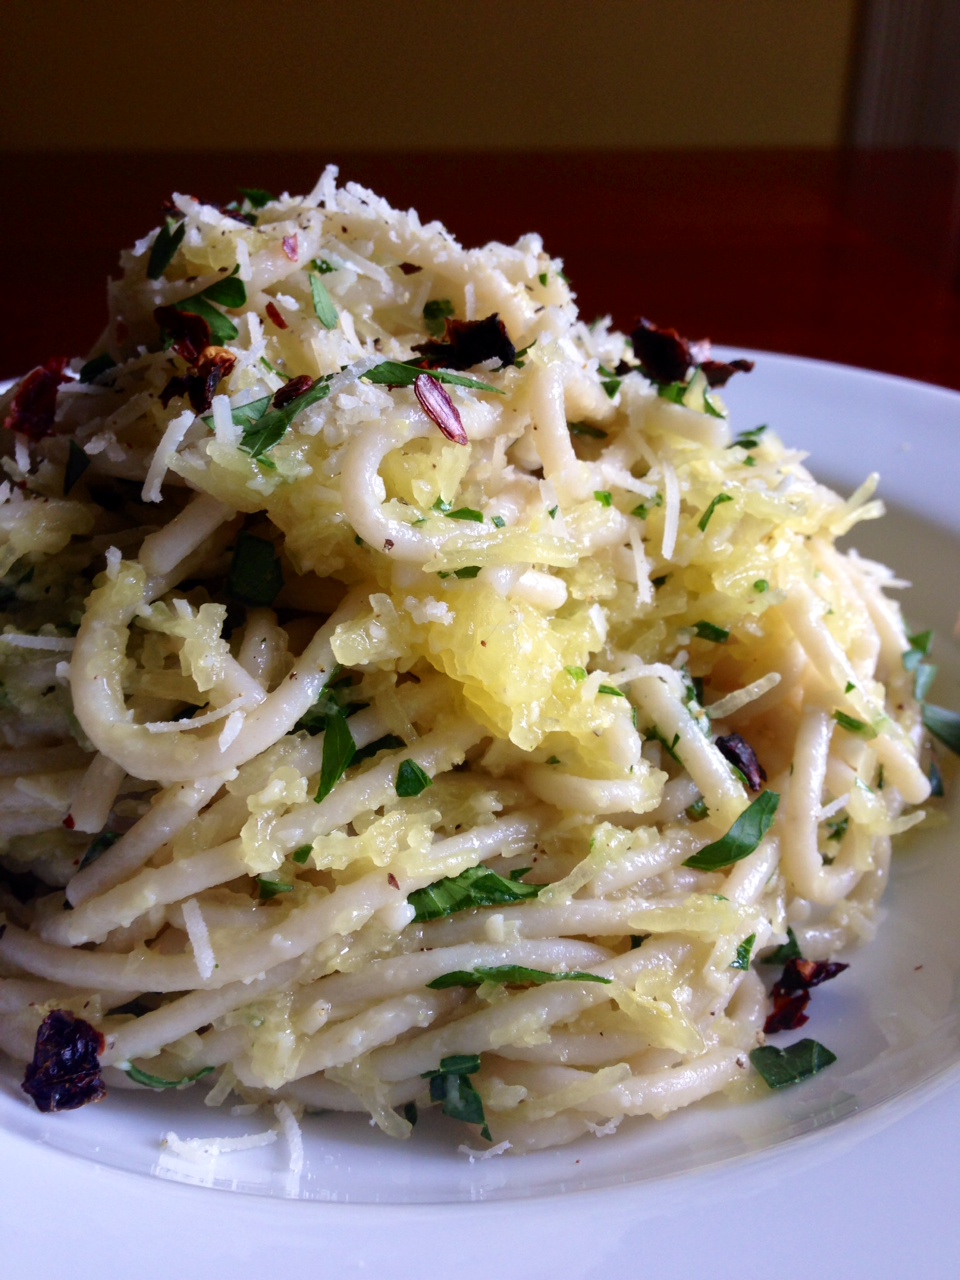
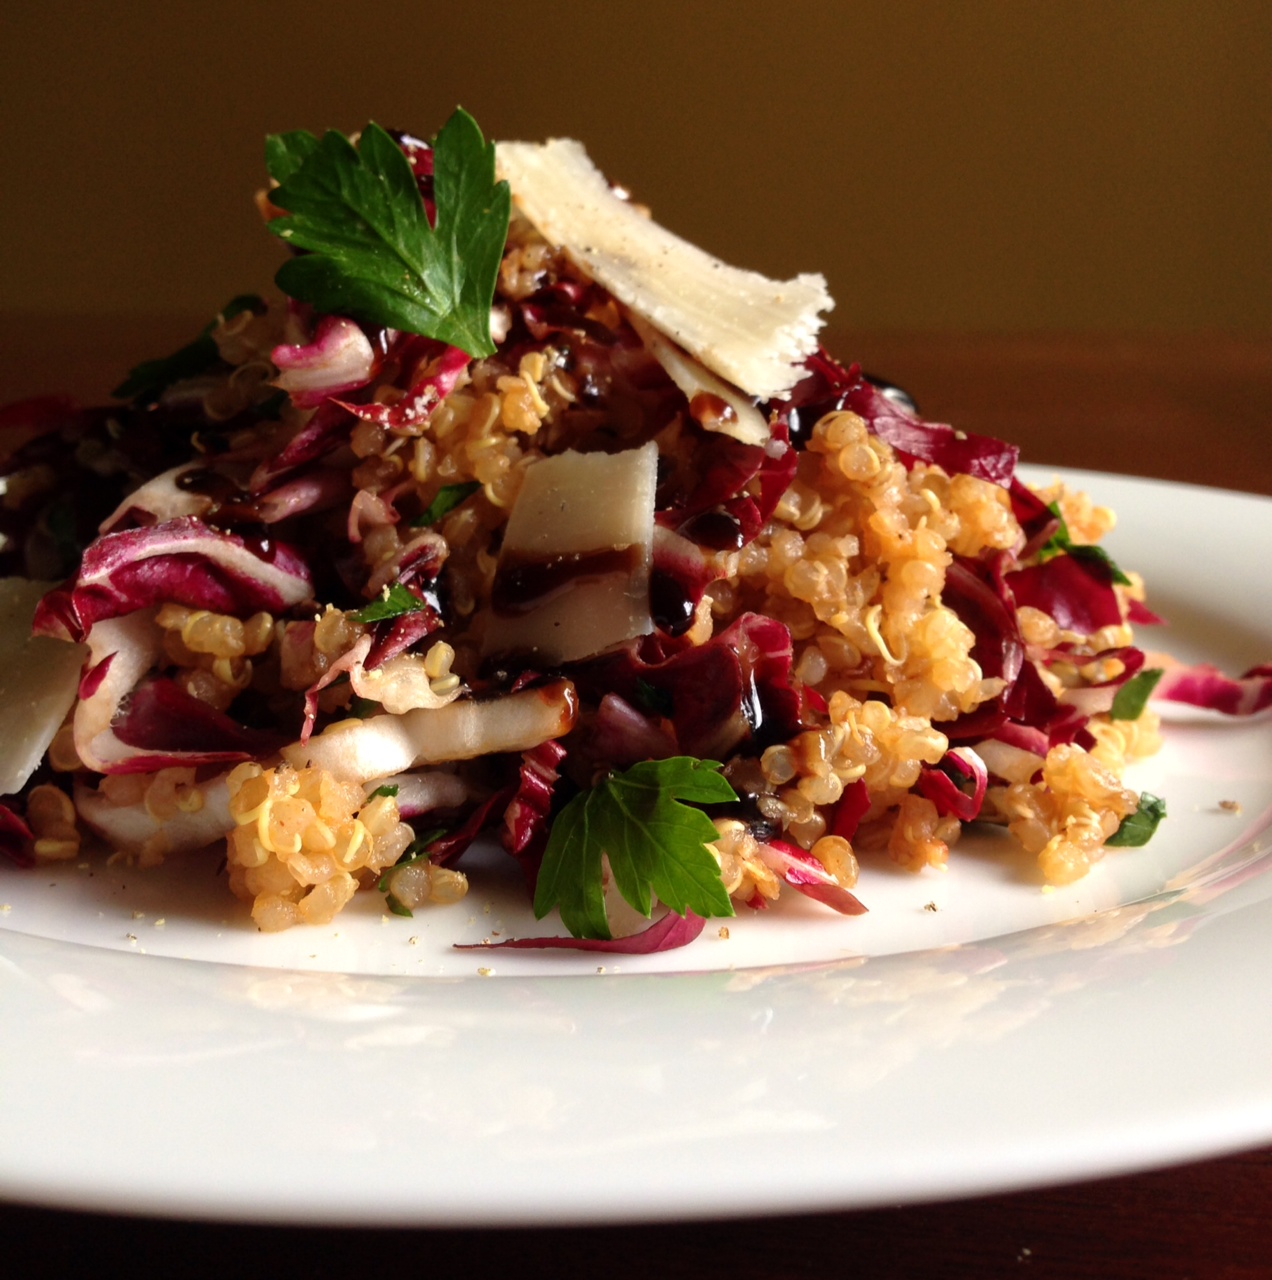
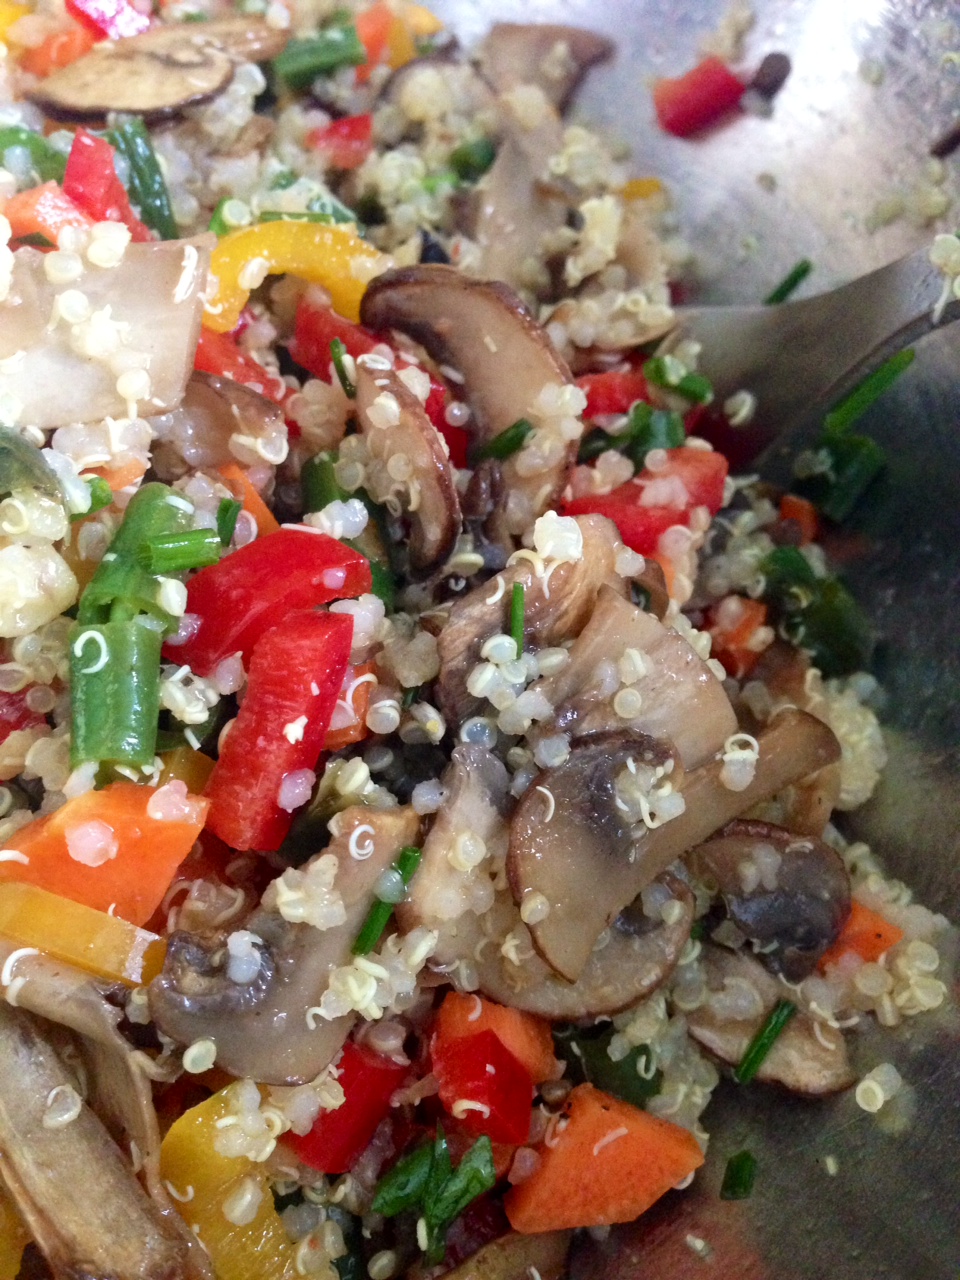 After a couple months of heavy holiday indulging, it feels much better to be back on the clean eating routine. Another cooking-obsessed friend of mine got a couple of new cookbooks and this dish caught my eye. Obviously there could be variations galore, but this combo works pretty well. I can’t wait to make it again next week with some different fresh herbs and other veggies.